Images & graphics
How to prepare product photos for an online store
Shoppers see product photos side by side, in a grid and on the product page. This guide shows how to prepare a whole set with the same framing and background, at sensible dimensions and file sizes.
- HNarzędzia editorial team
- Published:
Phone photos usually come in mixed aspect ratios, with different backgrounds and several megabytes each. Before uploading them to your store, decide on a few rules for the whole set and process every photo in the same order. Products then appear at a similar size in the grid, and the store does not load files heavier than it needs.
Check your platform’s requirements first
Each platform has its own recommendations and limits. Check them before editing, because they decide the aspect ratio and dimensions for the whole set.
- Shopify accepts images up to 5000×5000 px (25 MP) and smaller than 20 MB. For square images it says 2048×2048 px usually displays best, and it recommends a consistent aspect ratio for main images on collection pages so they show at the same size (Shopify Help Center, checked October 2026).
- WooCommerce creates product thumbnails 300 px wide and square-cropped by default. In the Customizer you can choose 1:1 cropping, a custom ratio or no cropping, and existing thumbnails need regenerating after a change (WooCommerce developer docs, checked October 2026).
- Marketplaces such as Amazon or eBay have separate rules for the main image, for example about the background, text and watermarks. Read the current rules in the seller help pages before you prepare the whole set.
Order of work
- Cropping and aspect ratio.
- Background, if it needs changing.
- Dimensions, the same for the whole set.
- Format and file size.
- File names and metadata.
Crop before you resize. If you scale the photo down first and crop afterwards, you end up with fewer pixels than you planned.
Framing and a consistent aspect ratio
A 1:1 square is a safe choice when the store shows products in a grid and the theme crops thumbnails to squares. If you upload a portrait photo and the store crops it automatically, it may cut off the top or bottom of the product, so crop it yourself.
In Crop image, choose the 1:1 ratio and place the frame so the product takes up a similar share of every photo. Leave some space around it: a product touching the edges looks bigger than the others in the grid.
Background
A plain background makes products easier to compare, and some marketplaces require one. Remove background cuts out the product and saves it as a PNG with transparency, or as a JPG or WebP on white or a color you choose. On first use it downloads an AI model to your device, and the photo itself is not uploaded anywhere.
Check the edges after the cutout, especially on transparent, shiny or fluffy products such as glass, foil or fur. Photos larger than 4096 px on the longest side are processed at a reduced resolution, and the tool tells you when that happens.
Dimensions
Pick one size for the whole set, for example 2048×2048 px for Shopify. Oversized files only slow down uploads, and undersized ones can look soft when zoomed on the product page. The platform creates smaller versions for thumbnails anyway.
In the image resizer, enter the dimensions in pixels and process all photos in one batch. “Do not enlarge smaller images” keeps photos that are smaller than the target at their original size. Reshoot those rather than upscaling them.
Format and file size
JPG is the safe choice for photos because every platform supports it. WebP usually gives a smaller file at similar quality, but upload it only where the platform accepts it. Keep PNG for graphics with transparency: a product photo saved as PNG weighs several times more than a JPG.
To reduce the file size of the whole set, use the image compressor. Start at 75-85% quality and compare a few results with the originals zoomed in, especially small print on labels and smooth gradients. If the store needs every photo under a specific limit, set it in Image to target size.
Example: a 3000×4000 px test product photo
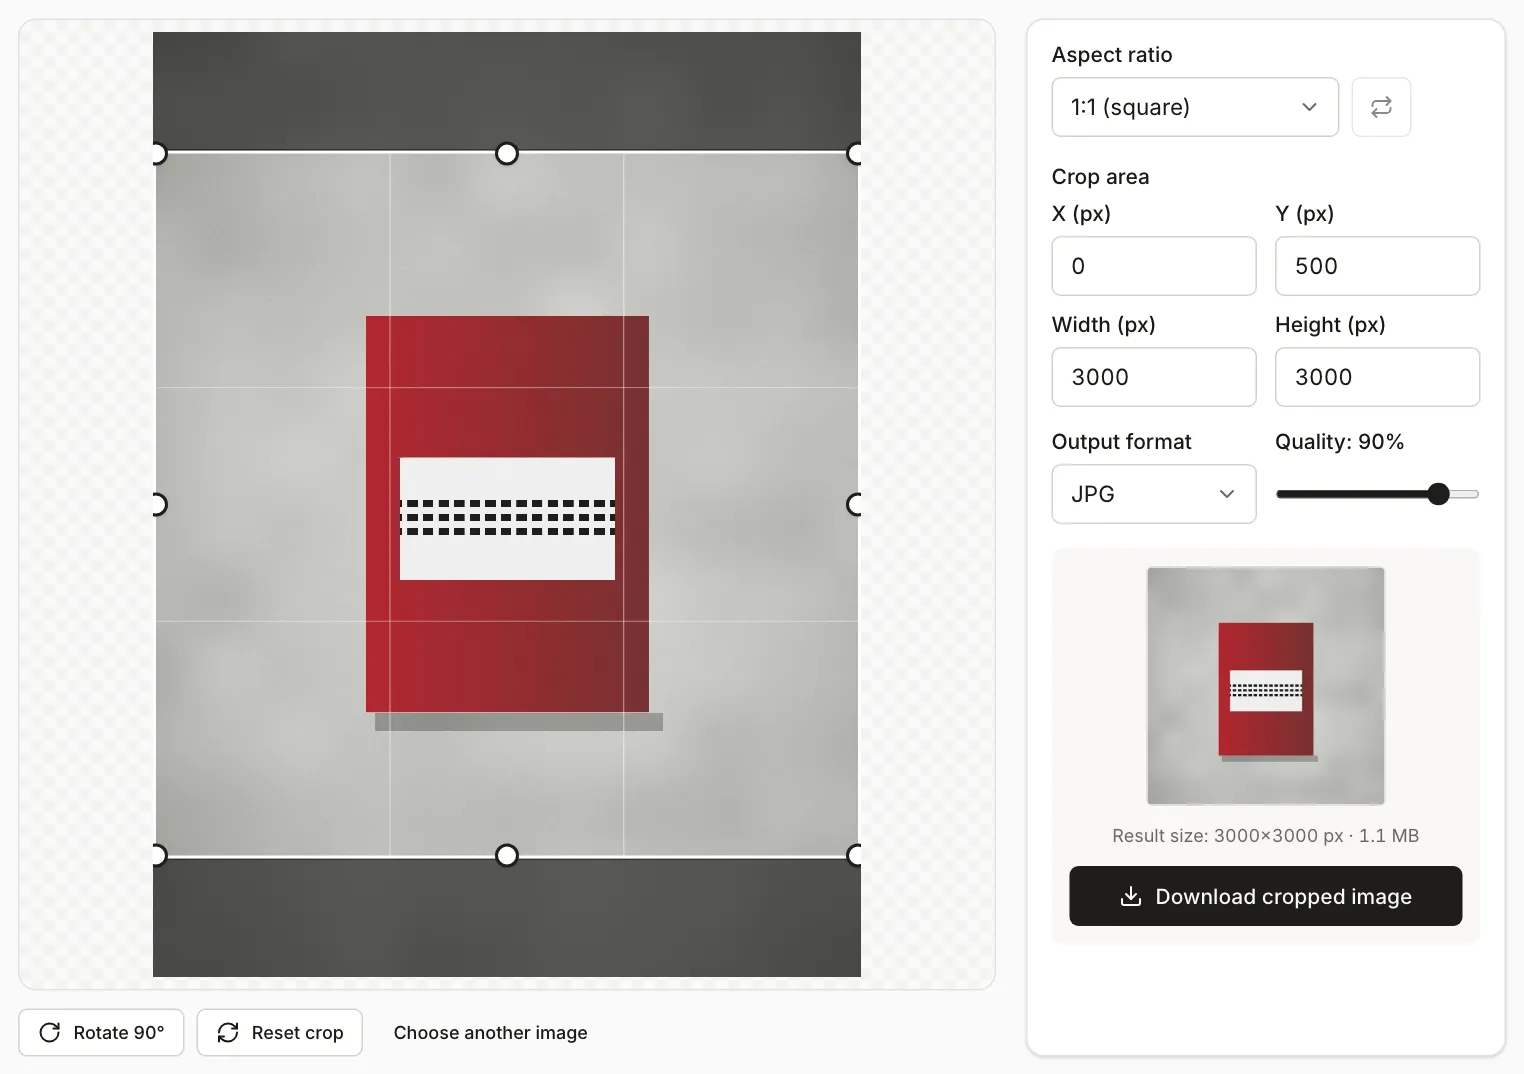
The test file is a synthetic 3000×4000 px image: a red box with a white label on a gray background, with a shadow and fine noise. It did not come from a camera. We measured the sizes with the sharp library, so the numbers in a browser may differ slightly.
| Step | Dimensions | Format and quality | File size |
|---|---|---|---|
| Original | 3000×4000 px | JPG 92 | 1.84 MB |
| Cropped to square | 3000×3000 px | JPG 92 | 1.44 MB |
| Resized | 2048×2048 px | JPG 85 | 248 KB |
| Resized | 1200×1200 px | JPG 85 | 54 KB |
| Resized | 2048×2048 px | WebP 80 | 21 KB |
Cropping and resizing to 2048×2048 px took the file from 1.84 MB to 248 KB. In the table, WebP is almost 12 times lighter than JPG. In the image compressor running in Chromium, the same 2048×2048 px JPG saved as WebP at 80% quality went from 242.1 KB to 25.2 KB (the compressor counts 1 KB as 1,024 bytes), almost ten times smaller. A gap that large is down to the test file, which has a large smooth background and little detail. On real photos with texture the gap is usually smaller, so compare both formats on your own files.
File names
Give files descriptive names before processing. The compressor and the resizer keep the file name and change at most the extension, so the name survives the whole workflow. Google recommends short, descriptive file names over generic ones like IMG00023.JPG (Google Search Central, checked October 2026). For example, white-ceramic-mug-11oz-front.jpg instead of IMG_2041.jpg. Descriptive names also help you find the right photo later. Add the alt text in your store’s admin panel.
EXIF data and location
Phone photos can contain GPS location, the phone model and the date. For photos taken at home, the location points to your address. Tools that redraw the image (cropping, resizing, background removal) do not copy this data to the result. The compressor, however, returns the original file when the result would not be smaller at the same format and dimensions, and then the metadata stays. Image to target size also leaves a file unchanged if it is already in the chosen format and under the limit. To be sure, run the finished files through the EXIF and GPS remover. Our guide on what to check before sharing a photo goes into more detail.
Watermarks
A watermark makes it harder to copy a photo into someone else’s listing, though it does not prevent it, and on the main image it may break marketplace rules. If you use one, check the platform’s policy first. In Watermark photos the watermark size is a percentage of the photo width, so it looks the same on photos of different sizes. Add it last, after cropping and resizing, so cropping does not cut it off.