Images & graphics
What to check before sharing a photo: EXIF data and what's in the frame
A photo can give away information in two ways: through metadata stored in the file and through what is visible in the frame. Check both before you send the file to a stranger or post it online.
- HNarzędzia editorial team
- Published:
Anyone who gets the file can read its EXIF metadata in a program that displays it. Anyone who looks at the photo can read what is in the frame, such as a license plate or an address on an envelope. Removing EXIF data hides nothing in the picture, and blurring part of the image leaves the location in the file.
What your phone stores in a photo file
Phones and cameras write EXIF metadata into the file. It can include:
- GPS coordinates of where the photo was taken,
- the device make and model, sometimes the lens,
- the date and time the photo was taken,
- the name of the app used to edit it.
Editing apps sometimes add their own blocks: XMP, IPTC, comments, and text chunks in PNG files. EXIF can also hold a small thumbnail of the photo. If the editing app did not update it, the thumbnail may show the photo as it was before the edit.
What happens to metadata after sending depends on how you send the file. An email attachment or a file shared from cloud storage reaches the recipient unchanged. Social networks and messaging apps handle files differently, sometimes even within one app, for example when you send a photo as an image or as a document. Do not count on the service to strip metadata for you. Clean the file before sending it.
Example: a test file with a GPS location
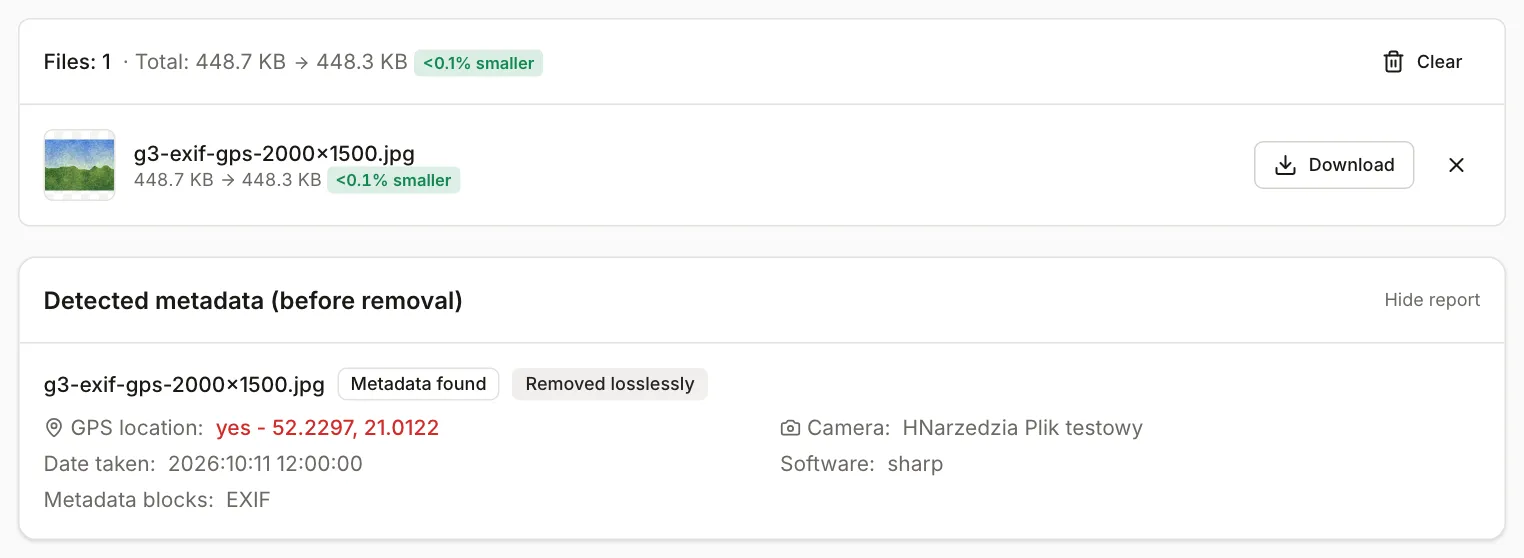
We created a 2000×1500 px JPG test file, a synthetic image saved with the sharp library, and added EXIF data: make “HNarzedzia”, model “Plik testowy” (Polish for “test file”), the date 11 October 2026 at 12:00, and the coordinates 52.2297 N, 21.0122 E (central Warsaw).
The EXIF and GPS remover showed the location 52.2297, 21.0122 in its report, along with the make, model, date and the software that saved the file (sharp). After cleaning:
- the downloaded file showed “No metadata” when loaded into the tool again,
- it was 436 bytes smaller (459,509 B before, 459,073 B after),
- the decoded image was identical to the original, pixel for pixel.
Lossless removal versus re-saving the image
The EXIF remover cuts the metadata blocks out of JPG, PNG and WebP files and copies the image data without recompressing it. It keeps the color profile, which is needed to display colors correctly, and it also removes data appended after the end of a JPG image. There is one exception: a photo with a rotation tag in EXIF is re-saved at 95% quality with the rotation applied, because removing the tag alone would leave it sideways. Files in other formats, such as GIF or BMP, are saved again as PNG.
Metadata also disappears when an image is redrawn and saved as a new file. Most of our image tools work this way, including cropping, resizing, blurring and format conversion. For JPG and WebP, though, re-saving is lossy, so if all you want is to remove metadata, lossless removal is the better choice. Watch out for the image compressor: if it cannot make the file smaller at the same format and dimensions, it returns the original, metadata included. Likewise, Image to target size leaves a file unchanged if it is already in the chosen format and under the limit.
The simplest approach is to clean the metadata as the last step, after all other edits. The report in the tool shows the file before cleaning. To check the result, load the downloaded file again. It should show “No metadata”.
Convert HEIC photos from an iPhone first with HEIC to JPG. The converter writes a new JPG or PNG file without the original’s metadata.
What to look for in the frame
View the photo zoomed in, not just as a thumbnail, because small details in the background are easy to miss. Things that most often need hiding:
- license plates,
- documents: ID cards, payment cards, invoices, contracts, letters or envelopes with an address,
- shipping labels, tickets and boarding passes; barcodes and QR codes can contain data too,
- screens and monitors: notifications, open messages, sticky notes with passwords,
- faces of people who did not agree to be published, especially children,
- house numbers, street names and a recognizable view from a window,
- reflections in mirrors, windows and glasses.
How to hide details so they cannot be read
From the most reliable method:
- Cropping. Anything outside the frame is gone from the file. Crop image saves a new file that contains only the selected area.
- Blacking out. A solid rectangle leaves no information about what was underneath.
- Strong pixelation, with a few large blocks across the whole hidden element.
- Strong blur.
Light blur and fine pixelation may not be enough. Blur keeps the overall shape of letters and digits. When the possible characters are known in advance, as on a license plate, someone can compare the blurred area with blurred candidates and guess the content. Light blur can also be partly reversed by software. For text, numbers and codes, black them out.
In Blur part of an image, the effect strength depends on the longer side of the whole photo. Pixelation blocks are as wide as the strength multiplied by the longer side and divided by 1,500. On a photo 2000 px wide:
| Strength | Block size | Blocks across a 300 px wide plate |
|---|---|---|
| 5 | 7 px | about 43 |
| 25 (default) | 33 px | about 9 |
| 60 | 80 px | about 4 |
A license plate typically has 6 to 8 characters. At strength 5 each character gets several blocks and the shapes may still be recognizable. At strength 25 and above it is roughly one block per character or less. These values come from the formula in the tool’s code. Readability also depends on how large the plate is in the photo, so always check the result zoomed in.
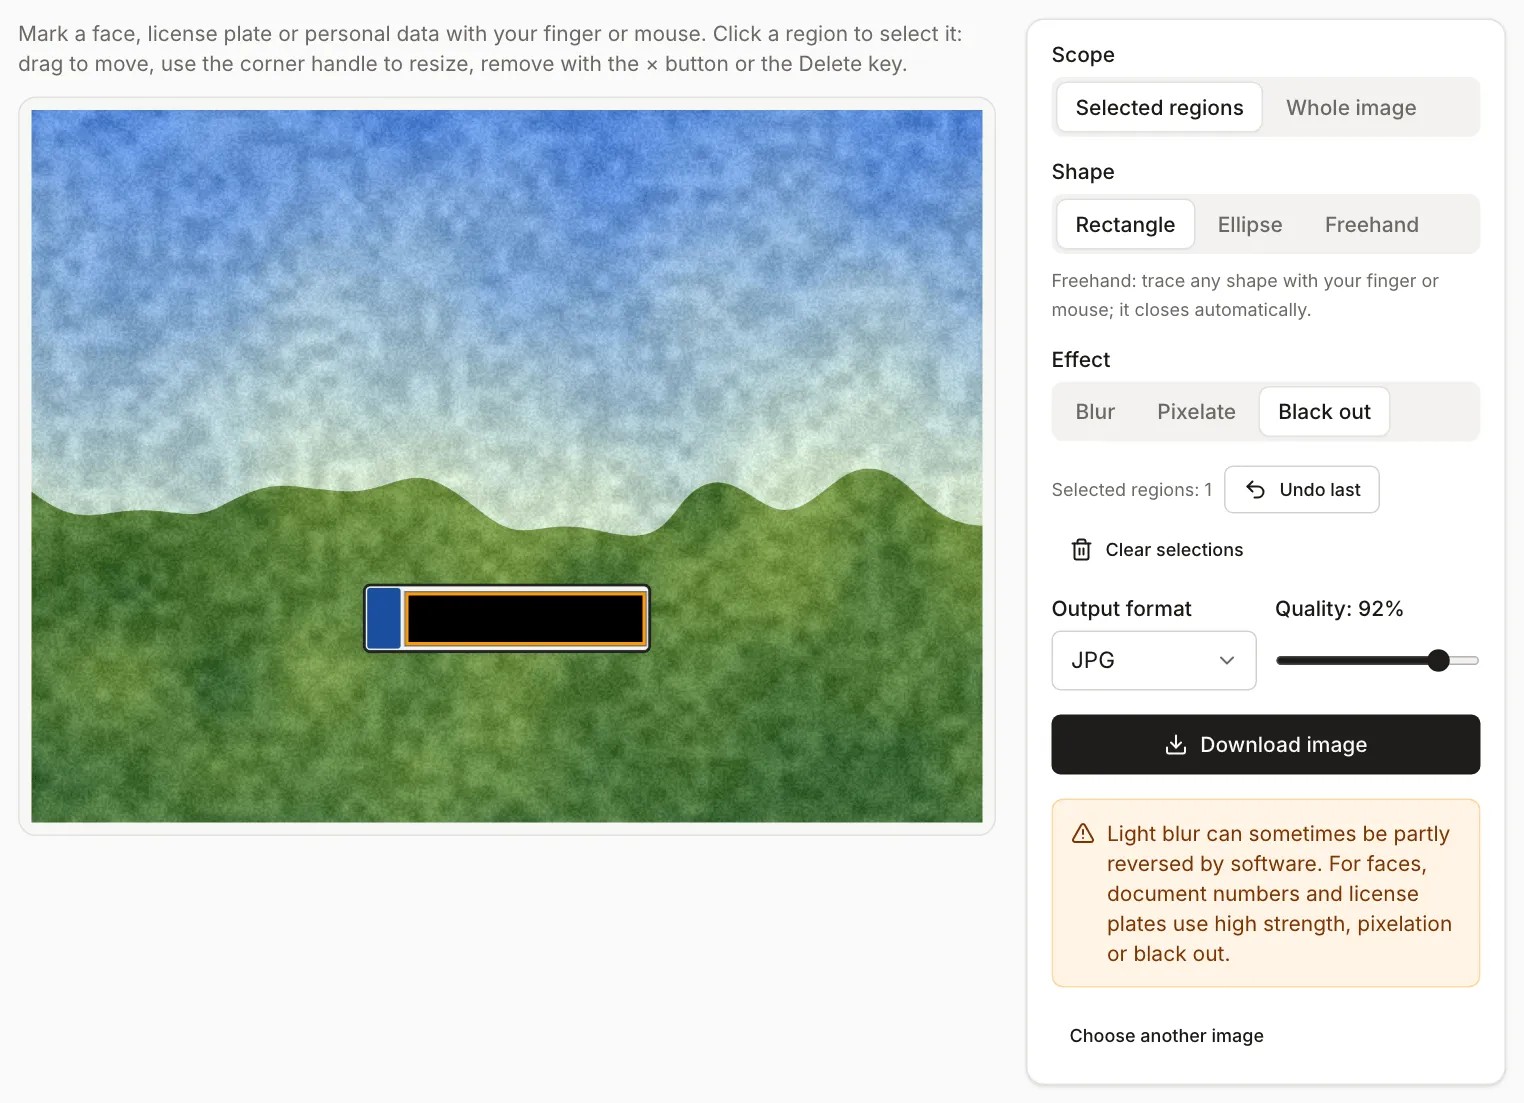
For faces, Blur faces is more convenient. It finds faces automatically and scales the effect to each face: with pixelation, from about 16 blocks across a face at the lowest strength to 4 blocks at the highest. Detection can miss a face in profile, a partly covered face or a very small one, so check the result and add missing areas by hand. The face detection model downloads on first use, and the photo stays on your device.
The covering has to be burned into the pixels of the file you send. Both blur tools save a flat JPG, PNG or WebP file. Send that copy, not the original.
Screenshots
A screenshot usually has no GPS location, but it easily shows more than you meant to share. Check the status bar, notifications, account names and profile pictures, other chats in the list, browser tabs and URLs. A page address can contain an order ID or a customer number. Cropping the screenshot to the part you need and blacking out the rest is usually enough. You can paste a screenshot into the blur tool with Ctrl+V.
Order before sending
- View the photo zoomed in and find any details in the frame.
- Crop the photo, and black out or heavily pixelate what you cannot crop.
- Remove the metadata last, then load the result again to check that it is clean.
If you are preparing product photos for an online store, see also How to prepare product photos for an online store.